 in This
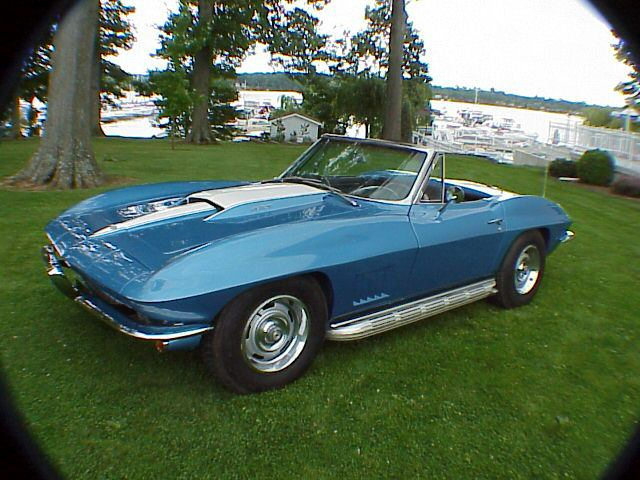
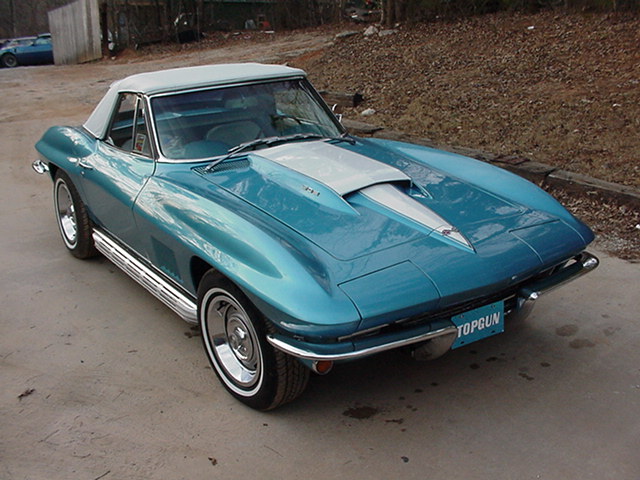
Ram Jet 502 into a 67 Corvette
The Goal:
put this
in This
without This
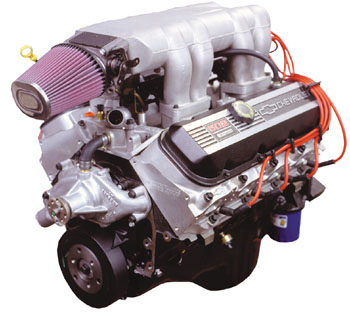
To Quote GM:
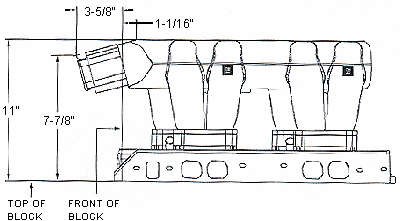
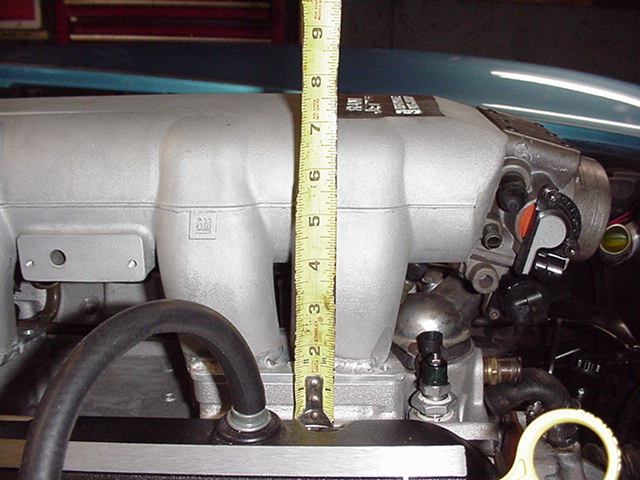
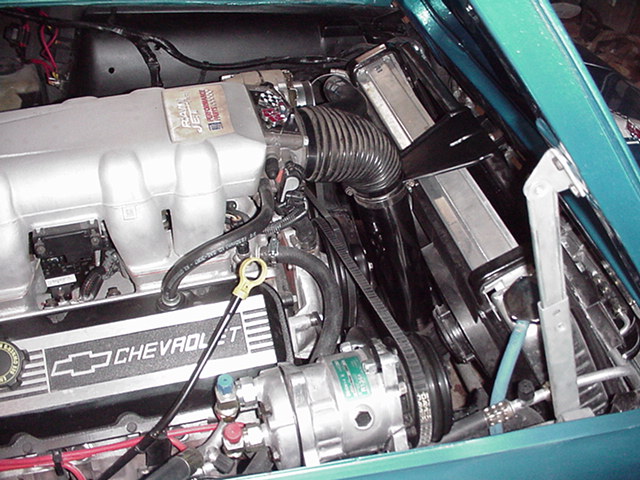
"The Ram Jet manifold stands eleven inches tall as measured from the front and rear “china wall” on the cylinder block. That’s just half an inch taller than a typical single plane high rise manifold, Holley carb and air cleaner combo."
What they fail to mention is that this manifold extends out approx 11.5 inches further forward then typical air 4v 14" air cleaner/manifold combo and 9 inches further then a 3x2 car!!! (figures include K&N stub stack filter that comes with the Ram Jet 502)
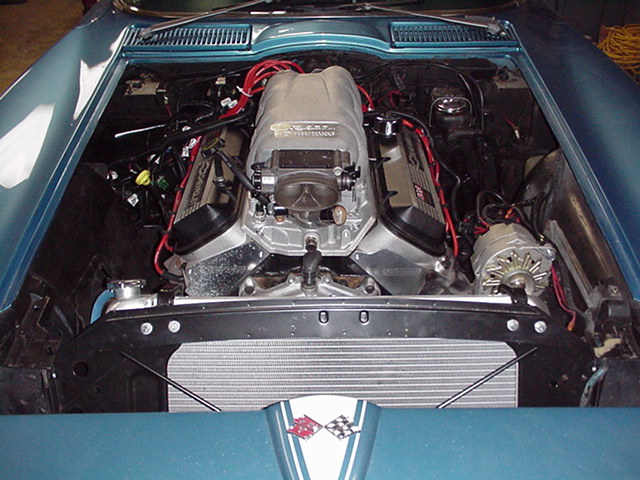
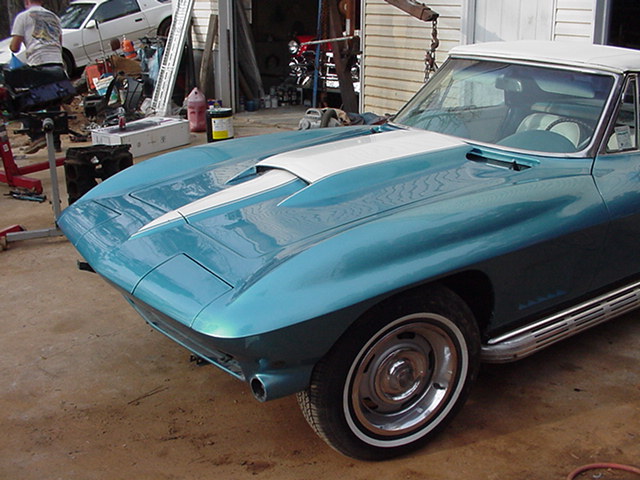
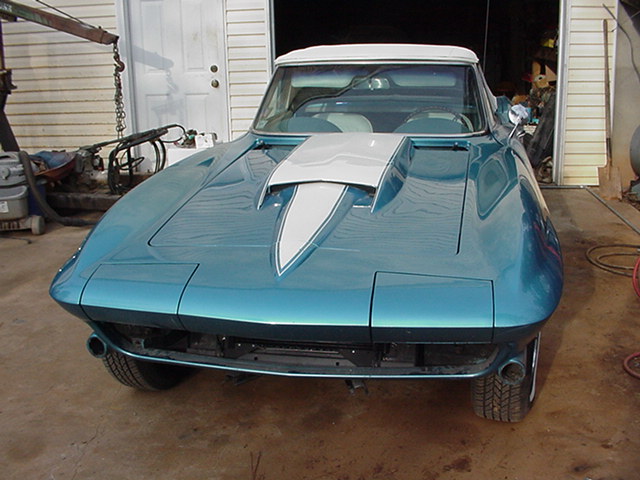
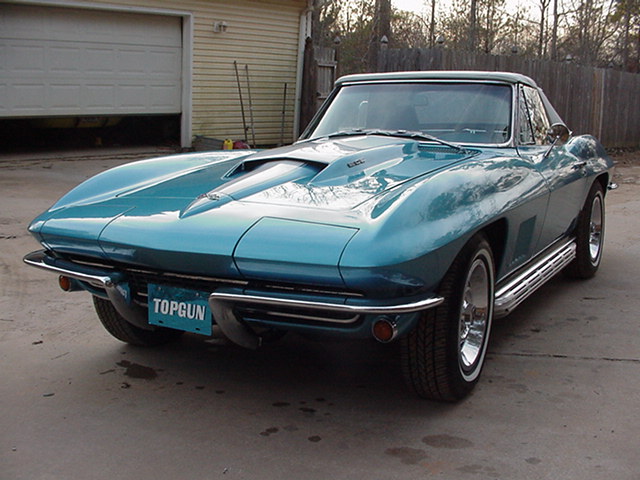
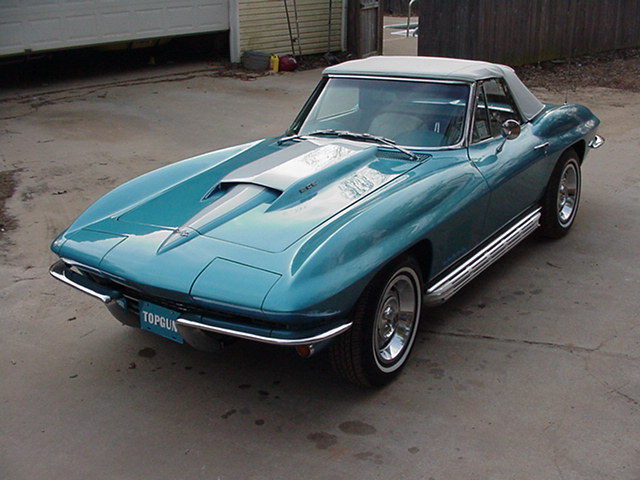
My goal is to take a 1967 Corvette and make as factory looking 502 ramjet installation, with the exterior configuration as close to stock configuration as possible.
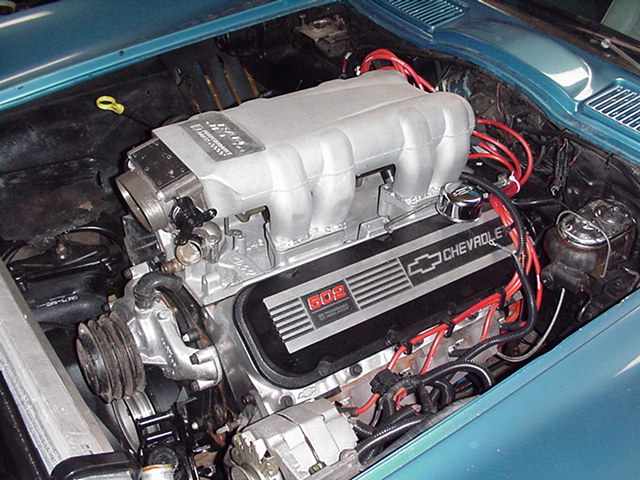
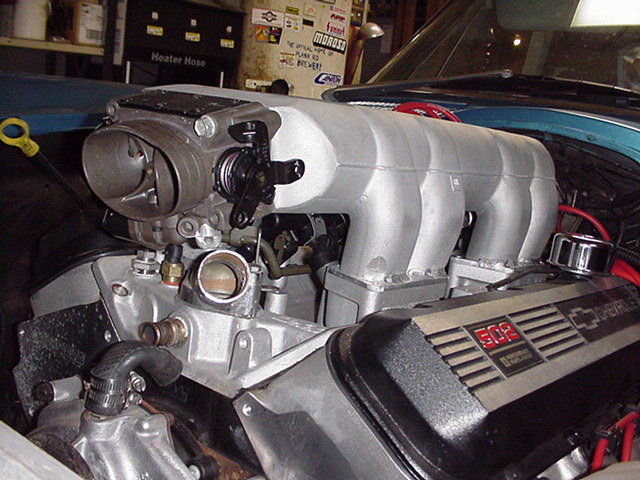
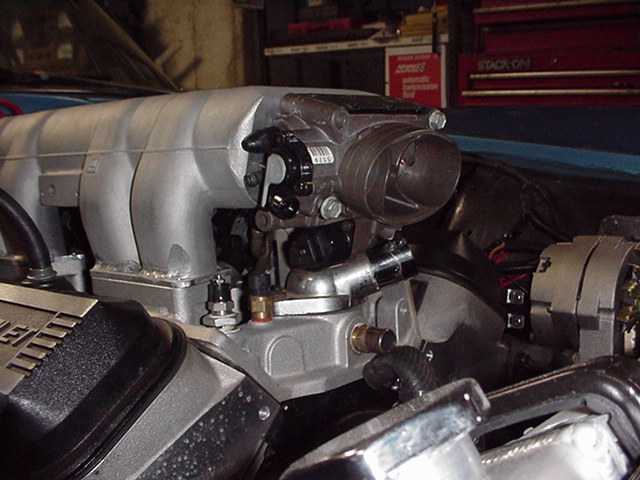

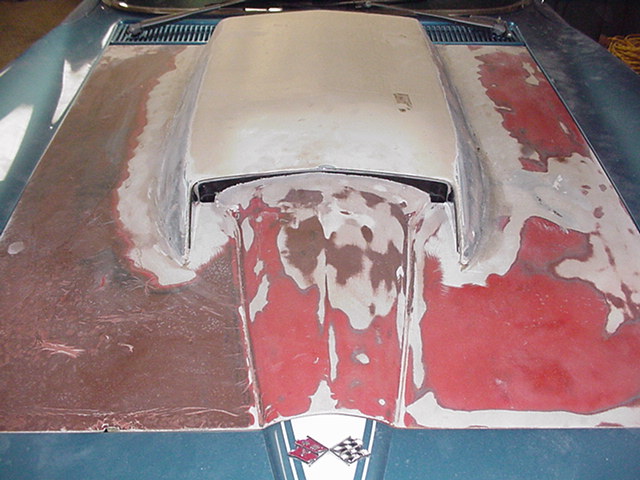
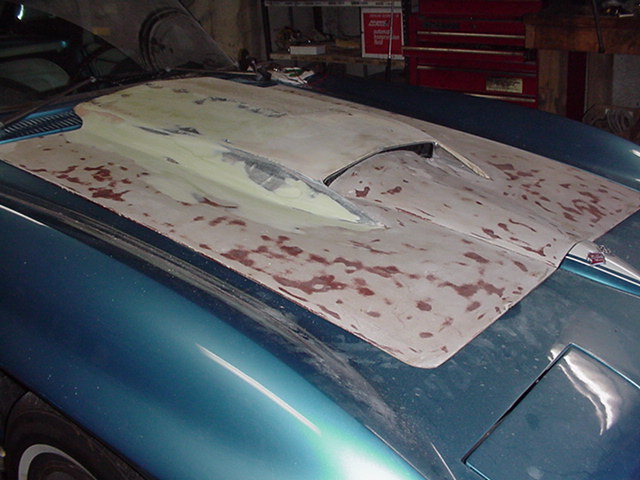
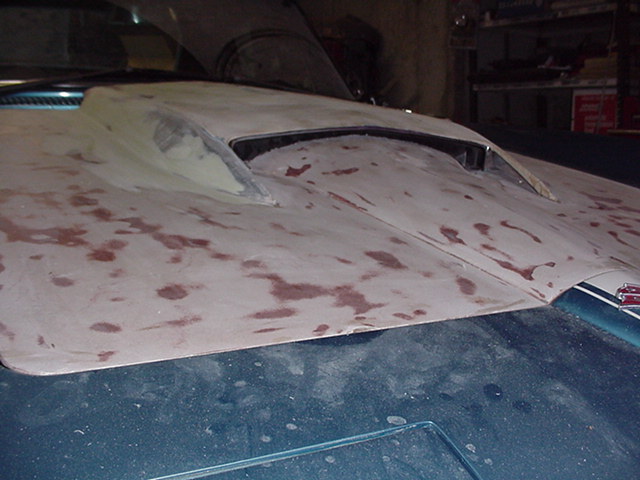
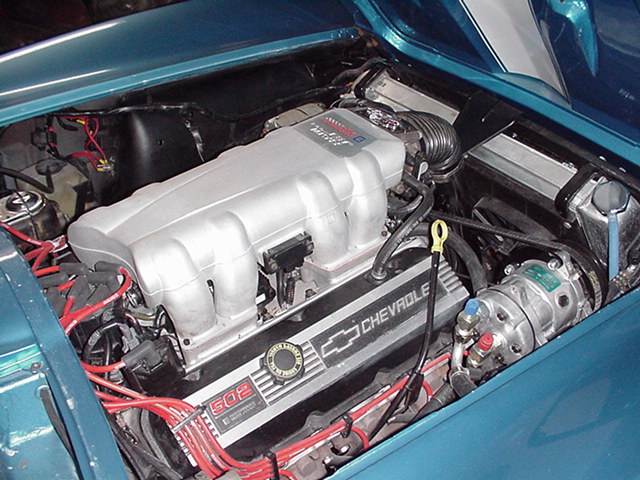
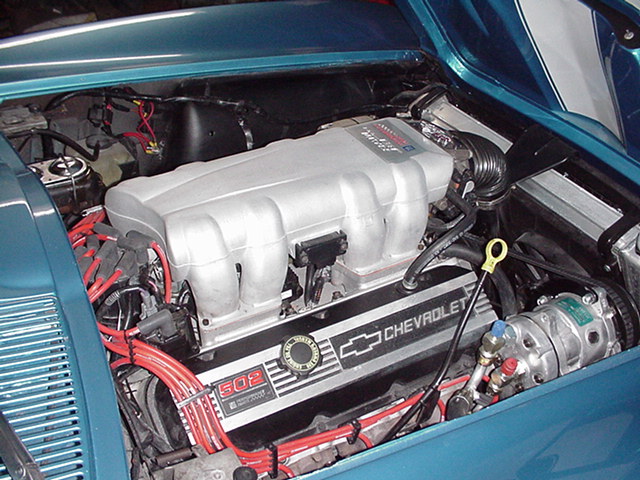
These are pics of the modified intake, the legs have been shortened as much as possible to allow this intake to fit inconspicuously under a "normal" looking 67 427 BB stinger hood. As delivered the Ram Jet 502 just fit under that huge ugly modified albatross of a "stinger" hood. Compare the throttle body to thermostat housing distance to the GM picture above to appreciate how much shorter this intake now is. Cosmetics are not done on this intake yet as I need to completely mock it up before finish work begins.
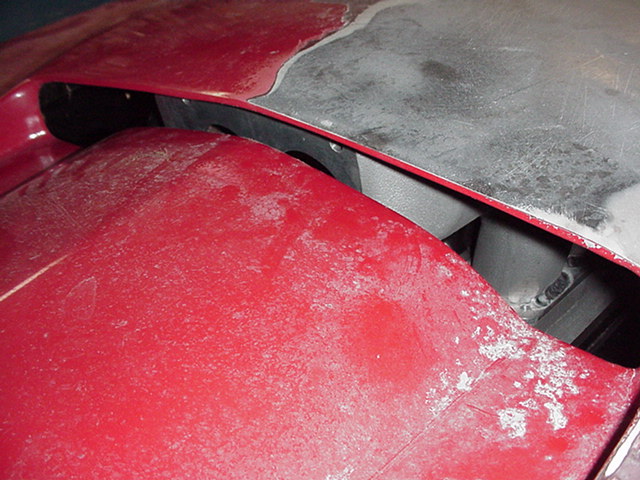
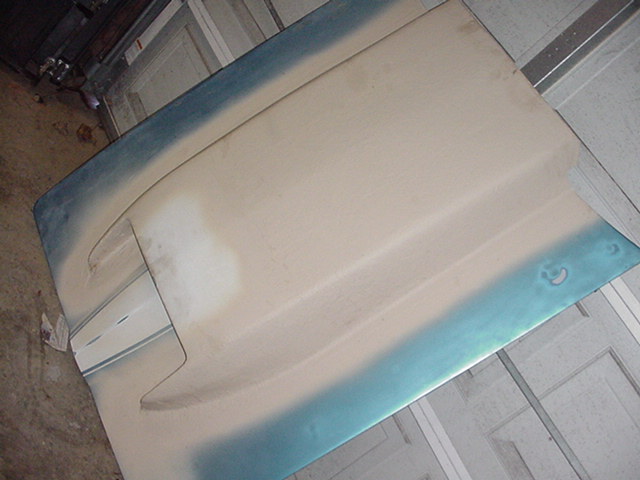
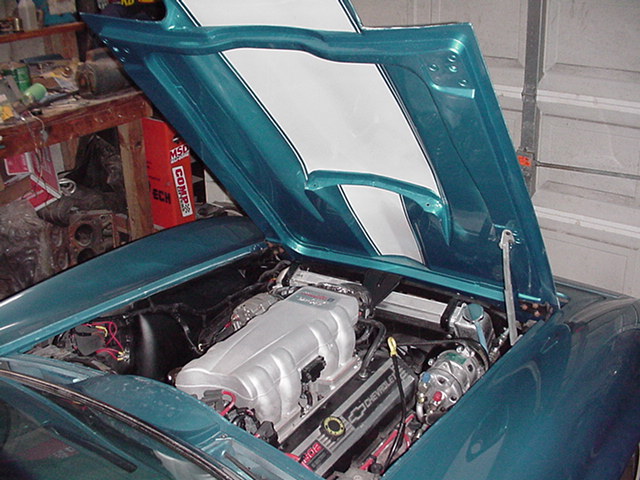
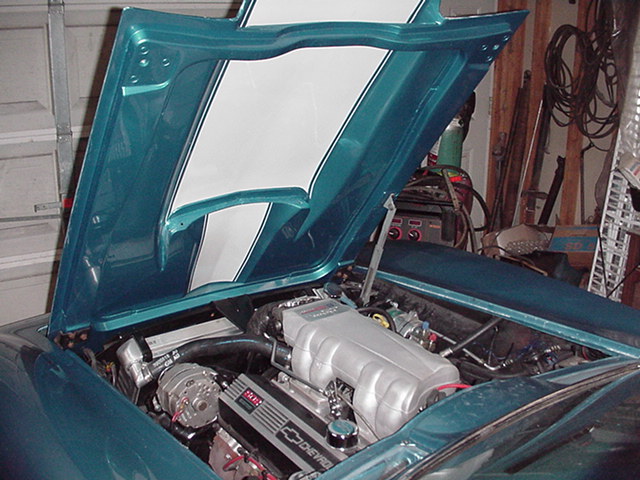
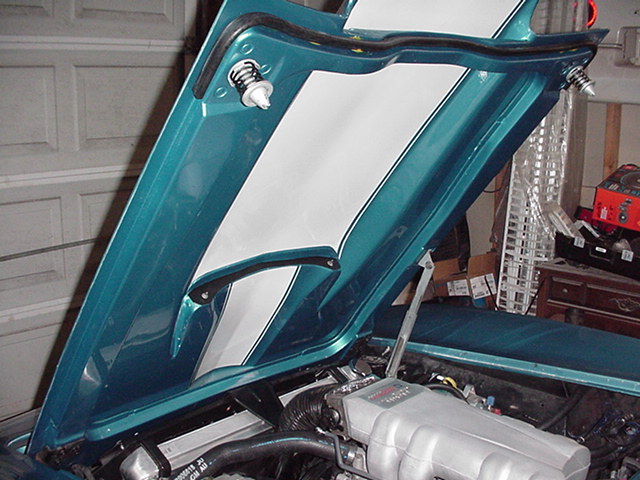
Here is a height comparison. Hood pictures are of a stock 67 hood and how it fits the modified intake without the throttle body installed. a 65-66 BB hood will fit without mods w/the throttle body on. A 67 hood will require the scoop to be extended approximately 1 inch to make it all clear. That's this weeks project!!!
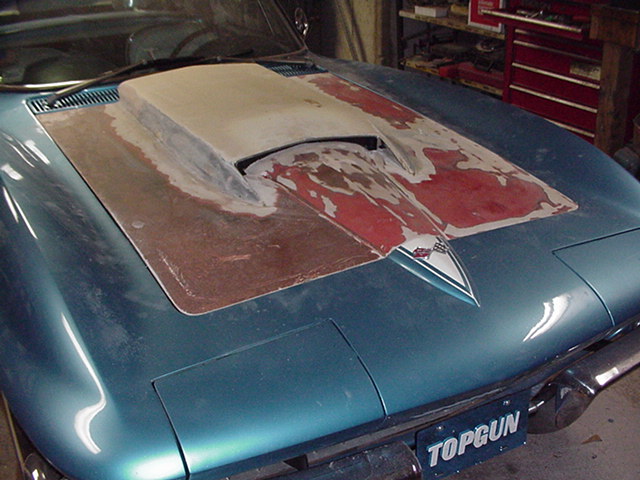
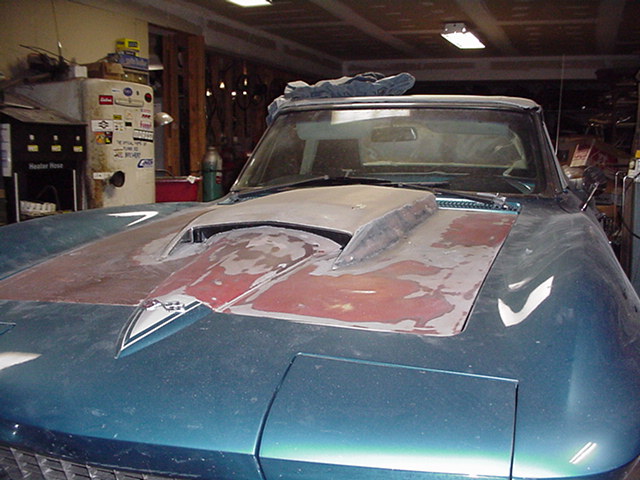
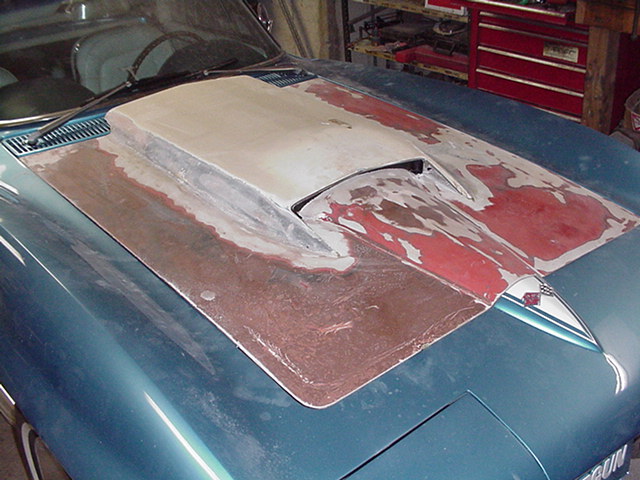
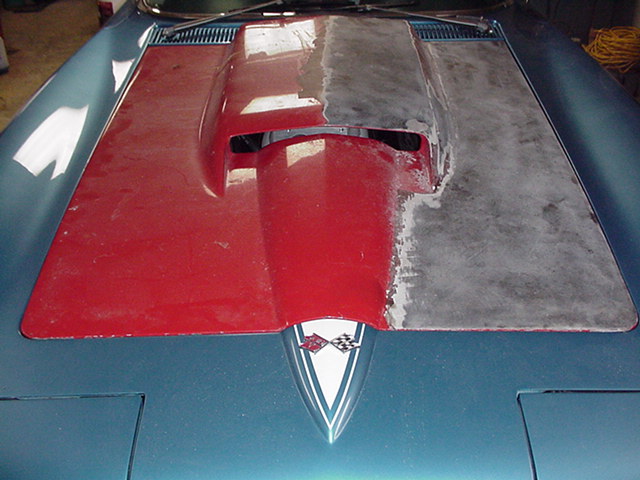
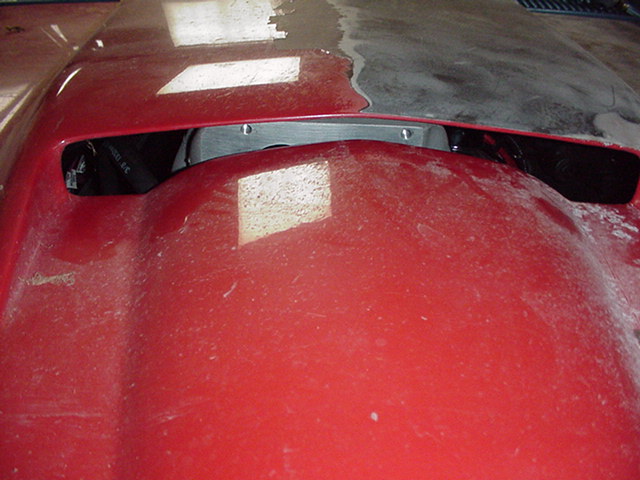
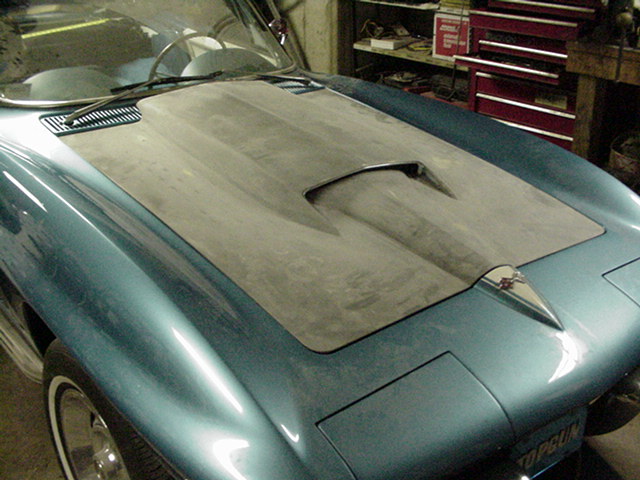
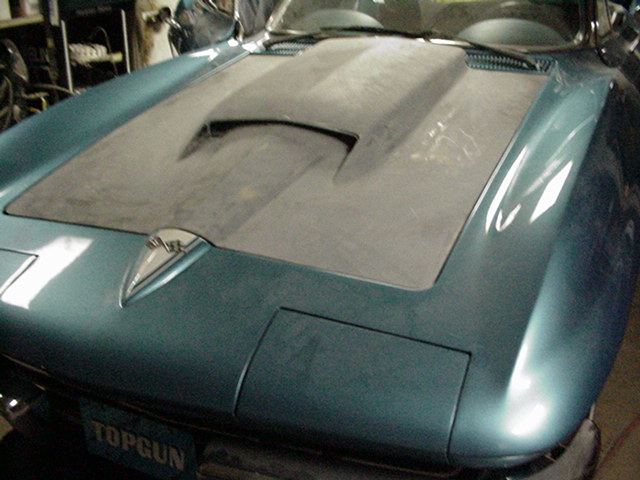
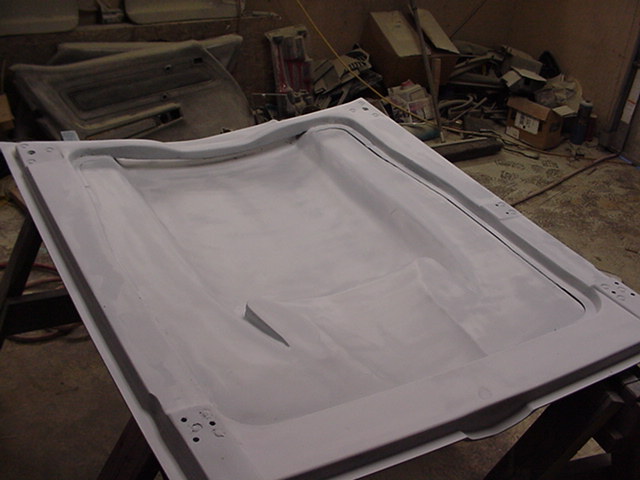
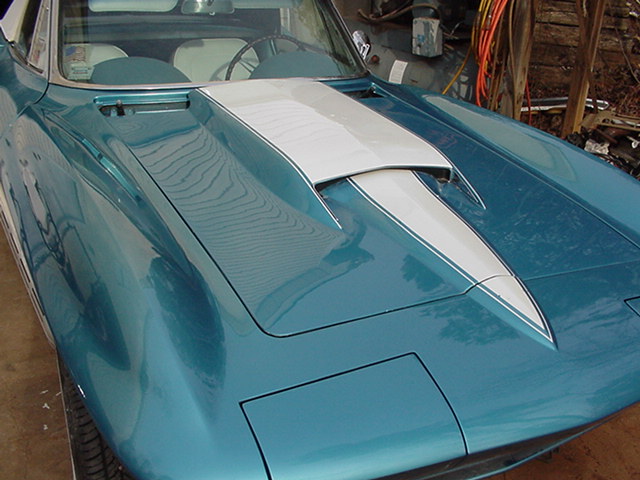
Here are pics of the hood after a few days of work. The base hood is a 65 BB 396 hood (note how it widens at the opening of the scoop) I cut and chopped the scoop from the albatross hood and glassed it onto the 396 hood. Using the 396 hood gave me just a little more room for an air cleaner system, and made it unique. The 67 scoop is cut approx 2.5 inches longer than the factory scoop. Also notice I have roughly modified the scoop insert to fit the revised hood opening. Still allot of work left to do to it, but I think it looks great so far. May be primed by weeks end. My goal is to have it not look like the Ram Jet is lurking beneath.......except for maybe 502 in place of the 427 on the hood!
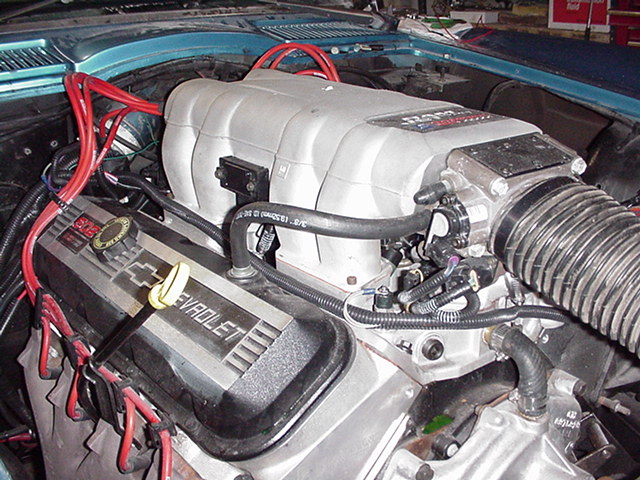
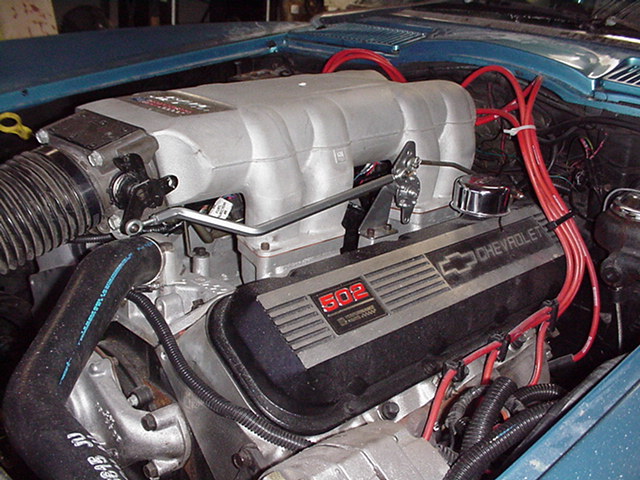
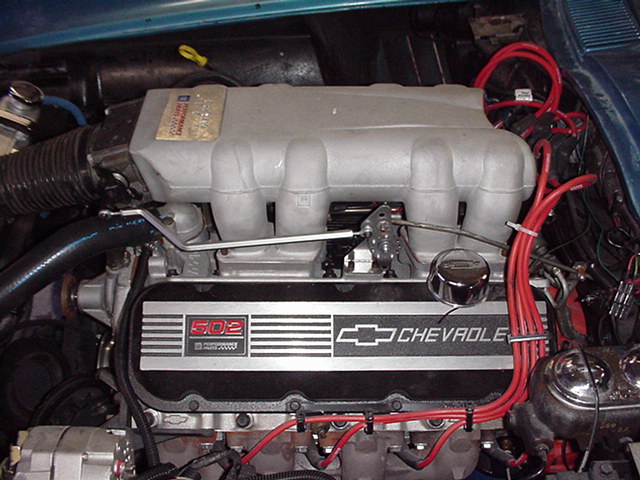
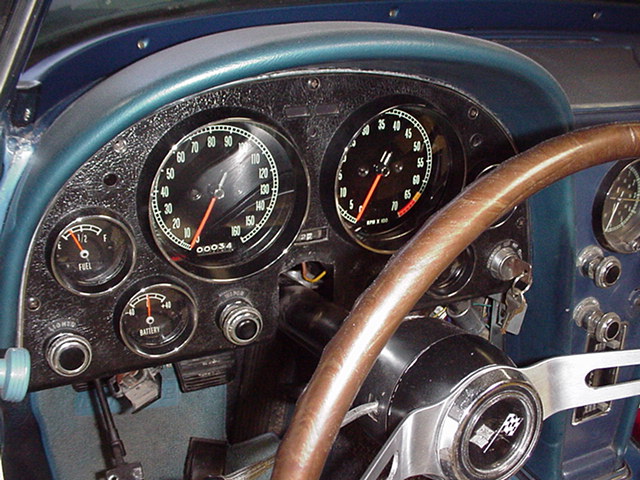
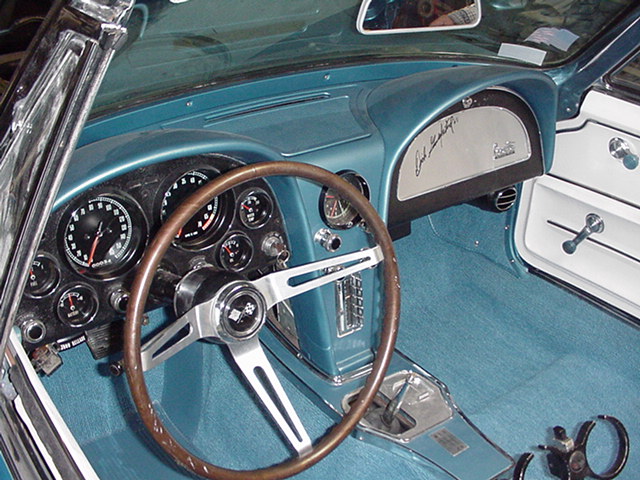
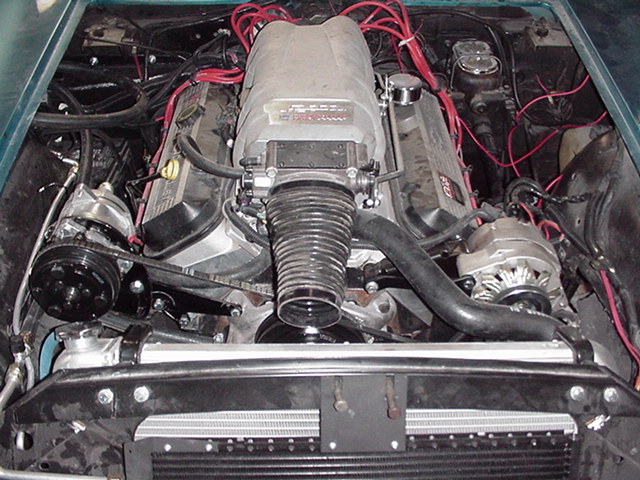
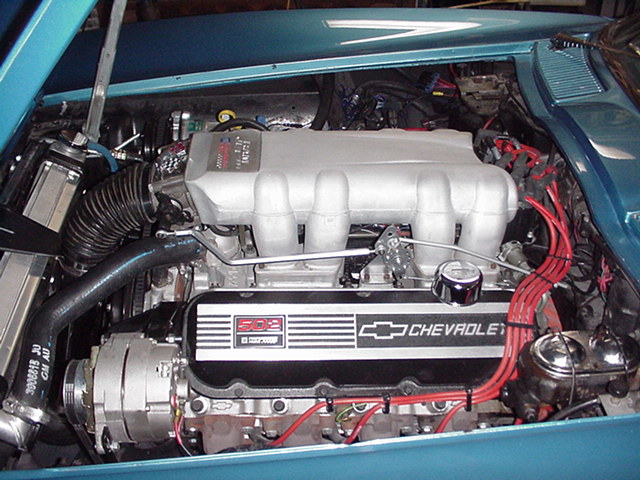
Here are some updated pics of the intake, hood, and electronic dash tach installed. Welds from intake cuts have been smoothed out and bead-blasted to create an OEM look for the intake. The mods to this intake are now practically invisible. and it looks just like a GM made part. Intake has been installed and engine is now back up and running. Next mods to include adding a new computer w/O2 sensor capabilities. This will allow the engine to monitor its exhaust and lean itself out for better performance and economy. Vintage AC is be installed and the EFI harness will be modified to incorporate an idle speed adjustment when AC is engaged.
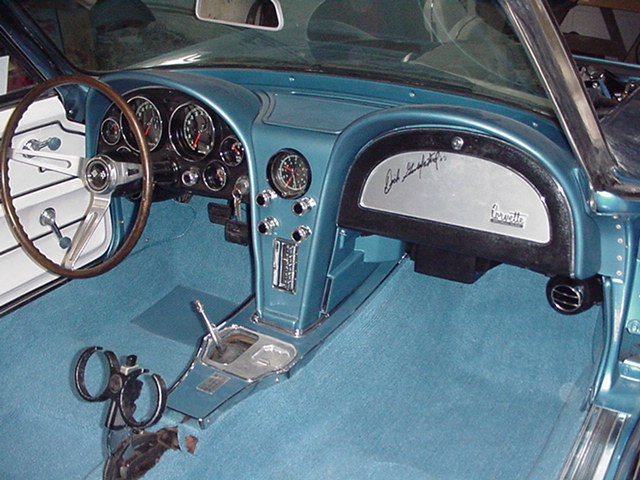
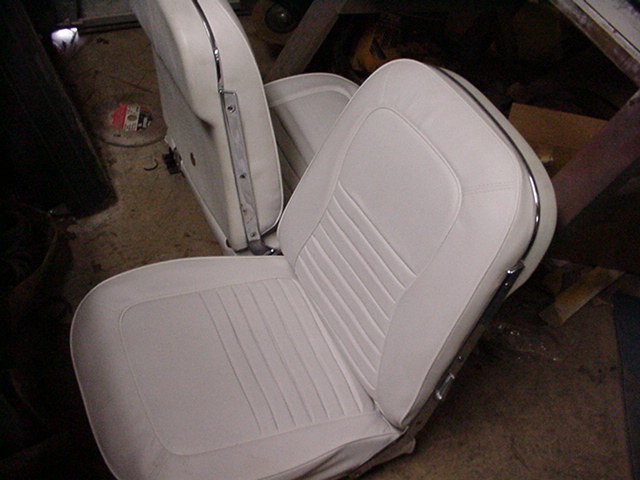
New pics of hood now in primer. the top side of the hood is now nearly done needing only minor blocking, a sealer coat and paint. now onto making the underside of the hood look just as good. Meanwhile Vintage AC has been installed (except for compressor which is on back order), clock has been rebuilt with a quartz movement, new carpet & heat barrier, seat covers, interior dash and trim cleaned and redyed, console repainted, lots on minor interior items cleaned and detailed.
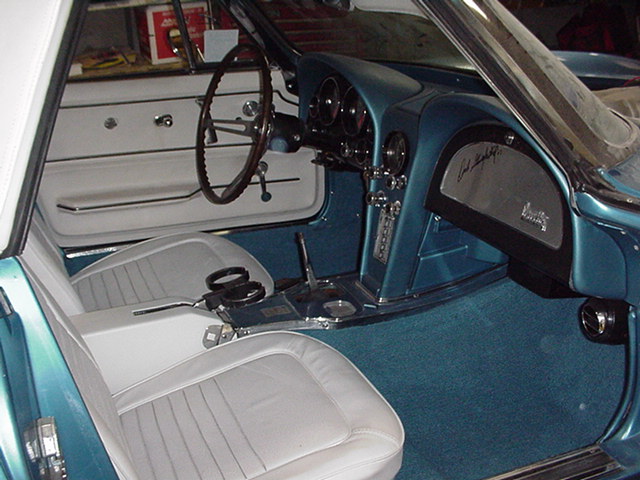

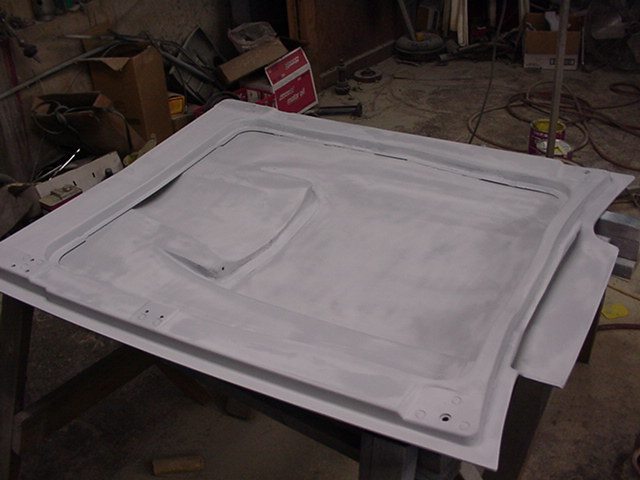
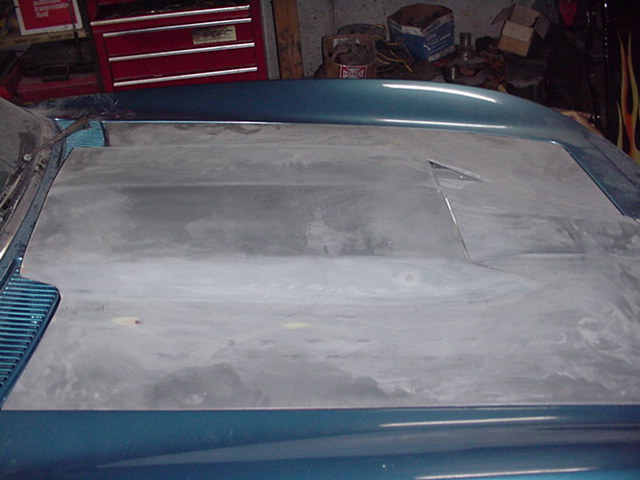
This weeks pics: Interior nearly done, top done, Engine is dusty but we can see that: AC compressor mounted, alt/ps mounted, belts fit and on, now need correct fittings from vintage to complete the AC system. Underside of hood is being finished to look as nice as possible in order to paint it blue w/a white stripe to mimic the topside of the hood. This actually has taken quite a bit of work as this hood started out as a 65 396 part, this required removal of center hood cross bracing, and parts were built to make the hood frame appear as a 67 BB hood would look. The smoothing out of the hand laid/home made hood scoop and all the blending it all neatly together is really a very time consuming project. I hope to have the hood ready to be painted by the beginning of next week.
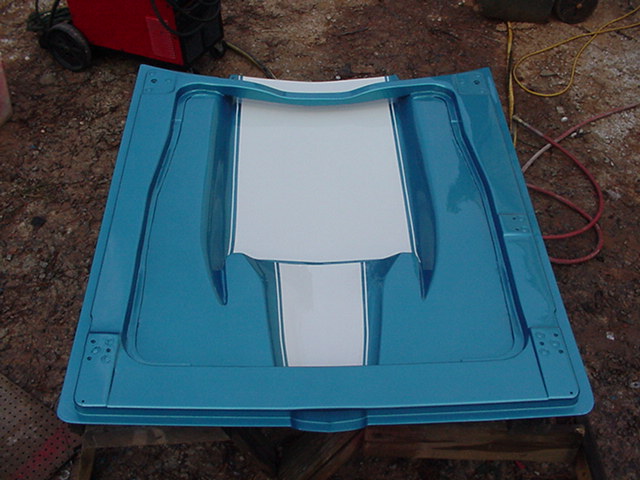
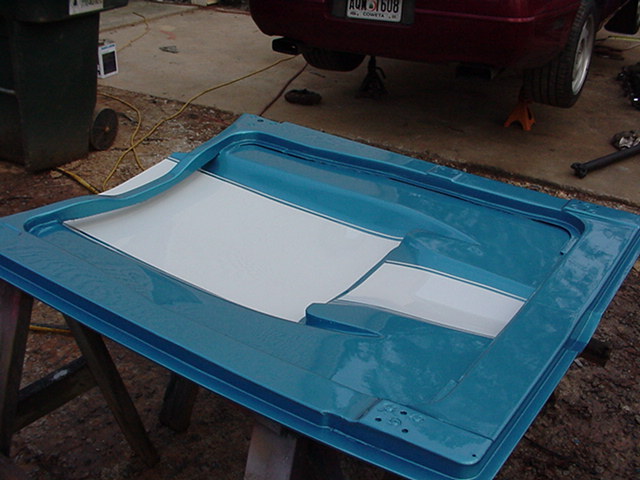
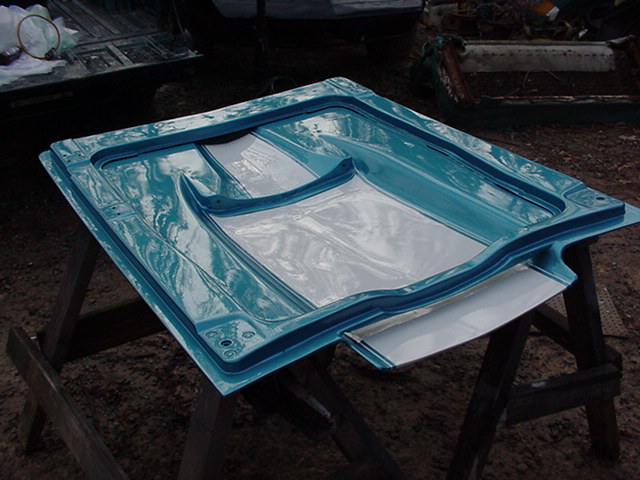
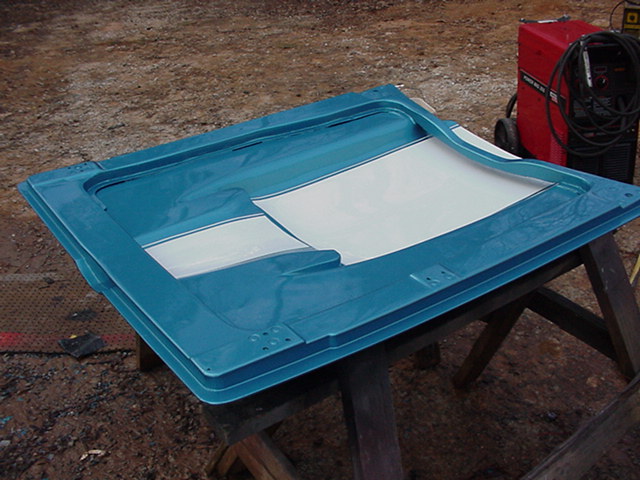
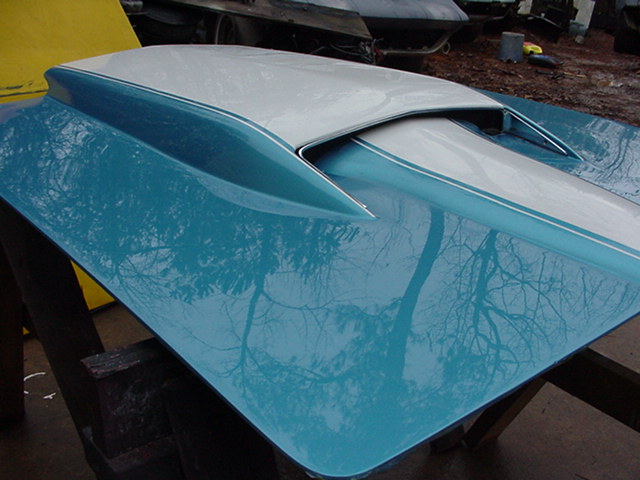
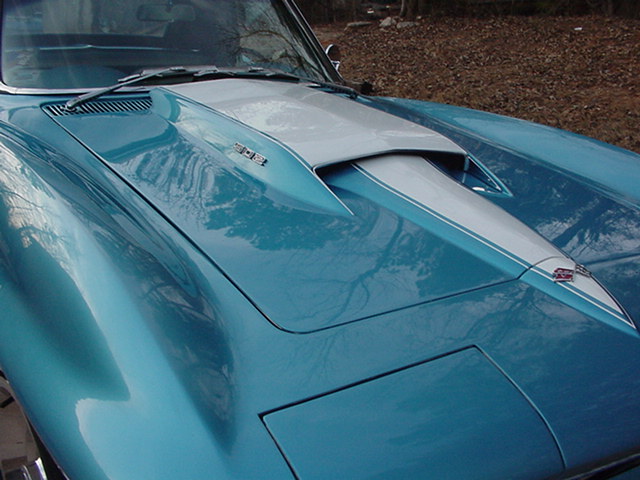
underside of hood is painted!!
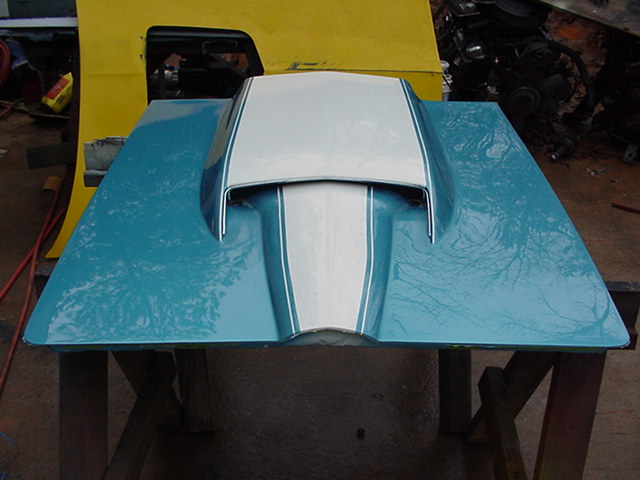
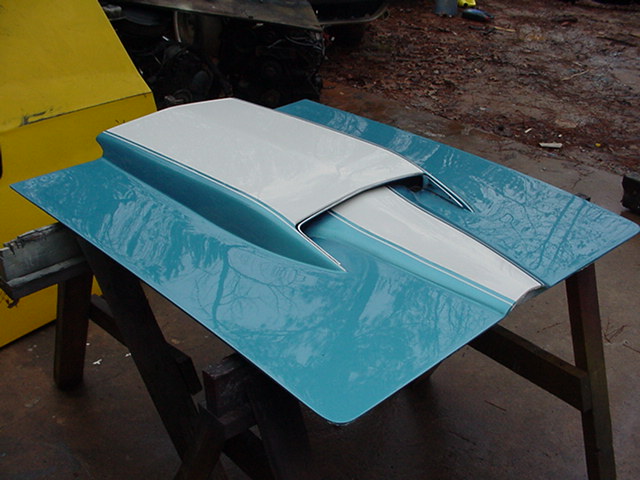
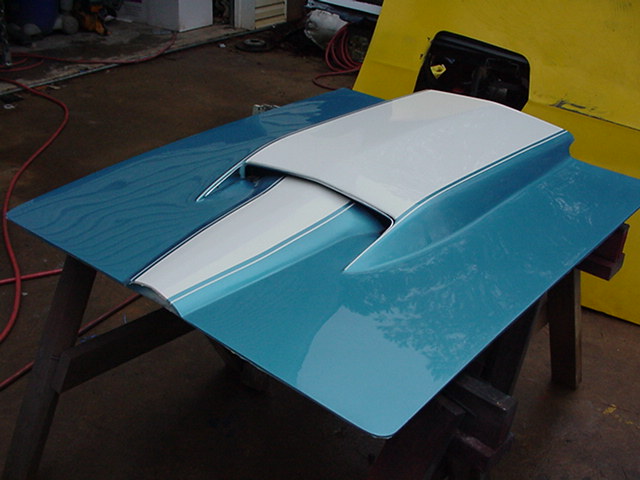
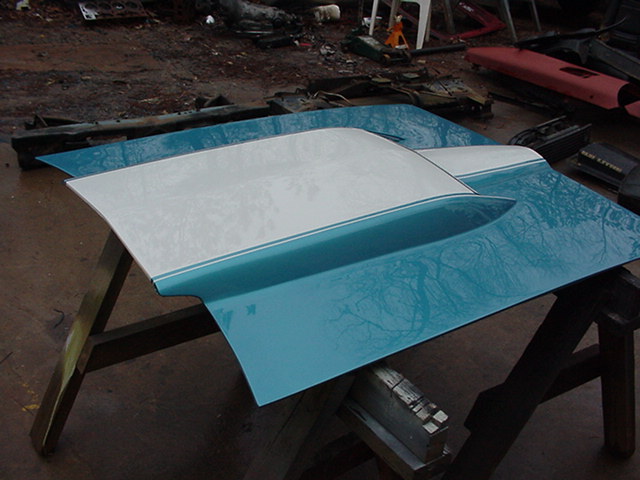
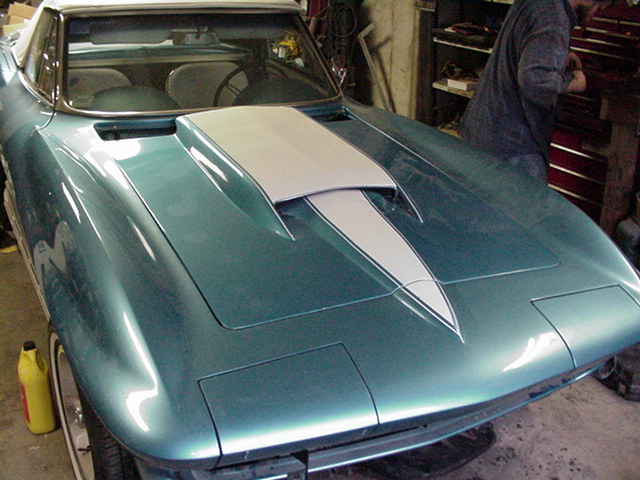
top of hood painted!! brief shot of hood on the car, now for a little repair/blend work on the front clip and its "looking good".
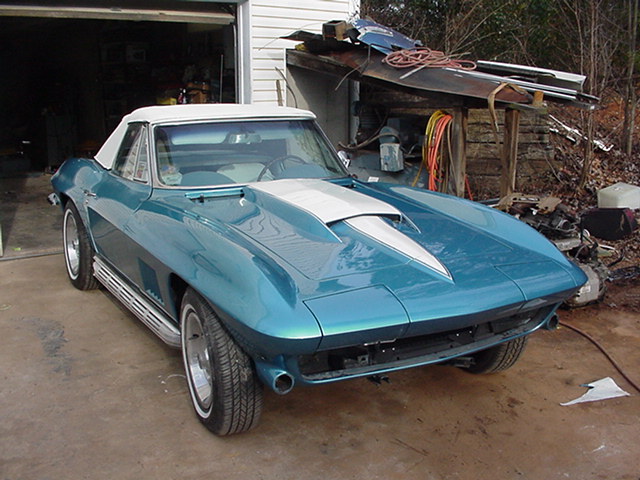
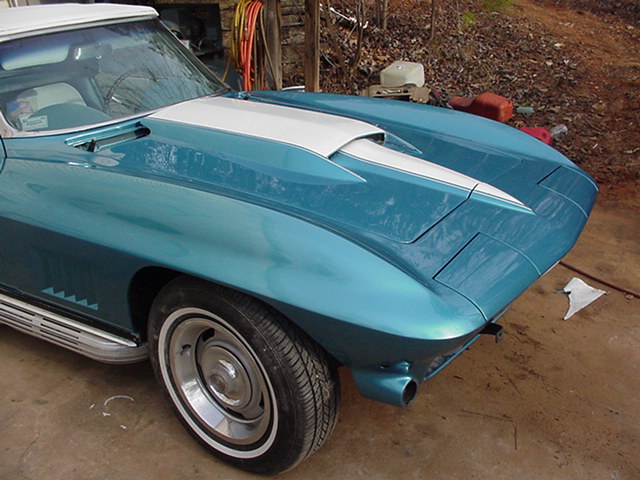
out of paint and repair/blend went well. now it all matches and looks great! Color sand and buff tomorrow and reassemble front end. push..push..push!!
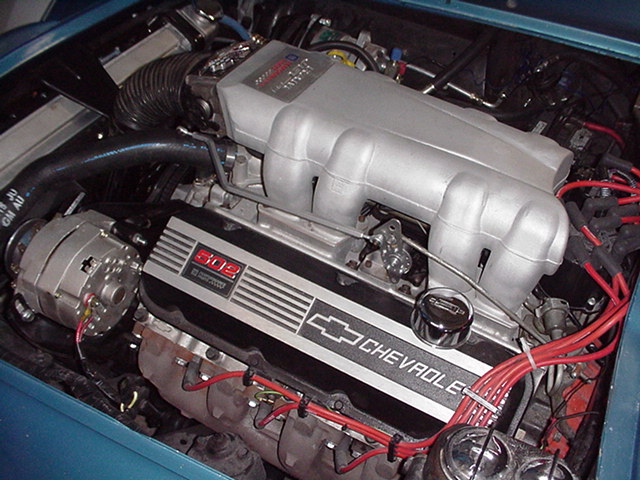
These under hood pics show completed stainless CAI (cold air induction) installed complete w/custom tube, brackets and retainers, new computer installed along with modified engine harness, an O2 sensor, and remaining wiring neatened up, hood installed, and new coil relocation bracket built and installed. Rear axle ratio has been changed, along with larger HD half shafts, side yokes, u-joints and driveshaft. New custom built clutch linkage, z-bar and engine ball stud mount built and installed. Car is now drivable again, and I am down to the wire.....


Stereo installed, AC charged, lots of little details being completed.......
will it make it to the Orlando show?? YES, it did!!
VIDEO #1
VIDEO #2
VIDEO #3 compilation
**UPDATE** Keisler 5 speed install!!
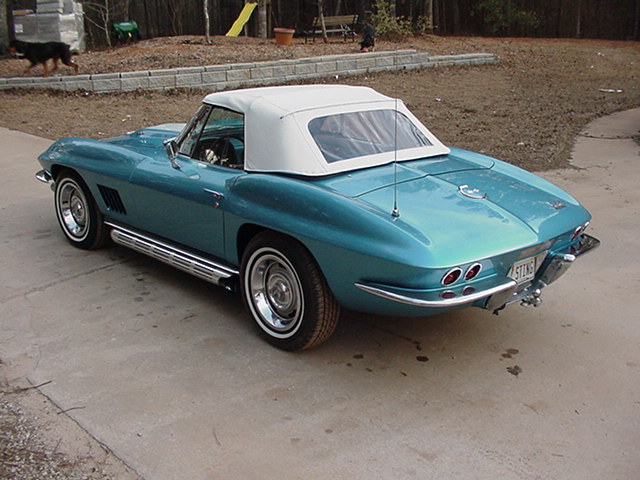
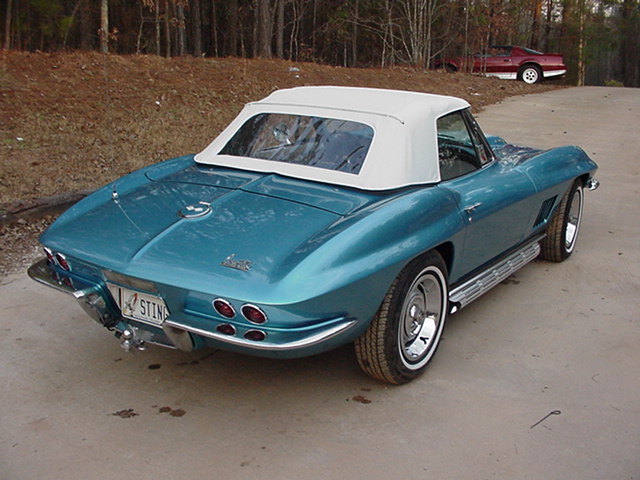
This Car belongs to Dennis & Cindy Manire of the 63-67 Sting Ray Registry